Best Seller
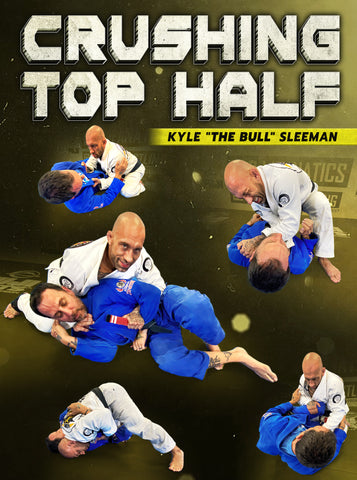
Crushing Top Half by Kyle Sleeman
- No matter your size, learn how to use your weight to start developing a strong top half guard game
- Go down the rabbit hole with the basics such as entries into half guard as well as controlling tactics and start off with a strong foundation
- Use a brutal crossface to pass the guard, get to the mount, secure the position and so much more
- Maximize the use of the underhook for knee slice passing and creative rolling back takes your opponent won’t be able to defend against
- Go through all the steps of setting up and finishing submissions like cross chokes, baseball chokes, kimuras and armbars from these positions
Course Content
Volume 1
CHAPTER TITLE
START TIME
| Intro | 0 |
| Control Position - Cross Face | 0:38 |
| The Underhook | 5:35 |
| Double Underhook | 10:02 |
| Entries - Enter The Half Guard | 14:25 |
| From Butterfly Guard | 18:55 |
| De La Riva | 22:46 |
| Reverse De La Riva | 27:25 |
| Knee Shield | 31:13 |
Volume 2
CHAPTER TITLE
START TIME
| Passing - Cross Face - Cross Face To Mount | 0 |
| Cross Face To Knee Slice | 5:32 |
| Cross Face To Foot Pry To Mount | 10:01 |
| Underhook - Underhook To Knee Slice - Mount Combo | 15:41 |
| Rolling Back Take | 21:06 |
| Unwind Hips To Smash Pass | 25:12 |
| Double Underhook To Opposite Side Knee Slice | 29:12 |
| Double Underhook Knee On Belly To S Mount Armbar | 33:04 |
| Cold Shoulder - Cold Shoulder To Back Step Pass | 36:47 |
| Cold Shoulder Back Step Pass To Mount | 40:25 |
| Cold Shoulder Back Step Back To Armbar Or Kimura | 45:02 |
| Cold Shoulder Back Step Collar Chokes Kimura Lapel Trap, Collar Choke | 48:44 |
| Cold Shoulder To Crowbar Pass | 54:09 |
Volume 3
CHAPTER TITLE
START TIME
| Reverse back step pass to knee pry | 0 |
| Knee on sternum cross choke | 3:33 |
| Quarter guard cross choke | 6:56 |
| Quarter guard baseball choke | 11:34 |
| Half guard to step over the head kimura | 15:06 |
| Half guard step over the head fall back armbar | 18:29 |
| Outro | 22:22 |

Check Out The Trailer!
So, What Exactly Do You Get?
PART 1
CONTROL POSITION
ENTRIES
PART 2
PASSING
CROSS FACE
UNDERHOOK
COLD SHOULDER
PART 3
$79.00


