ProductContent
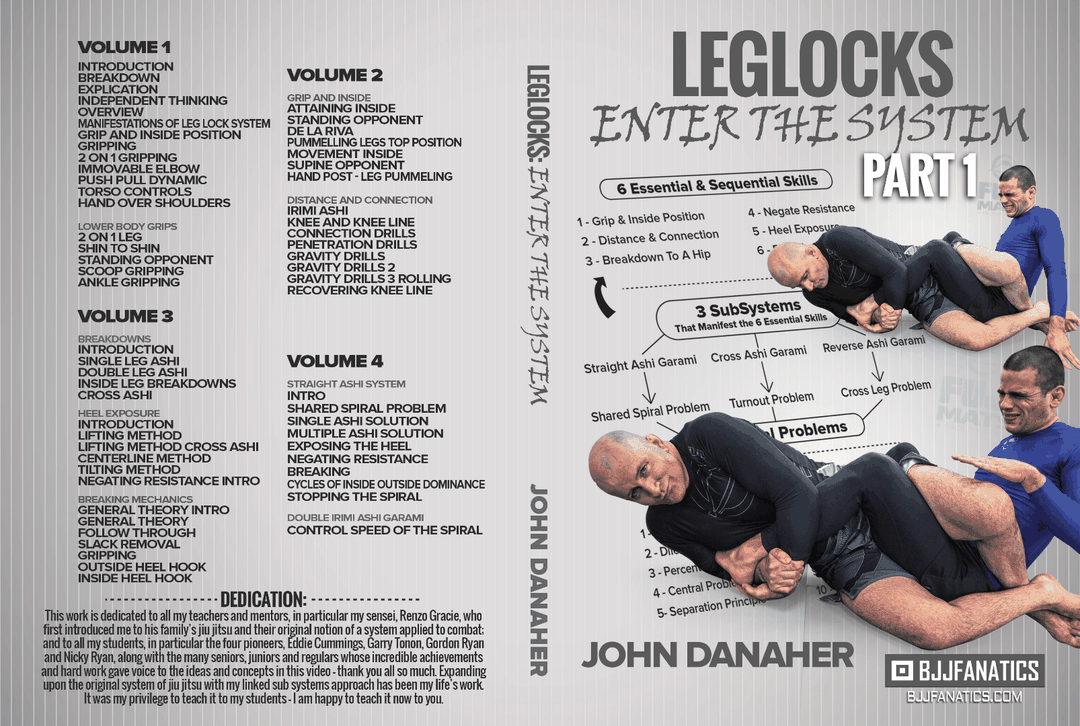
Leglocks: Enter The System by John Danaher
If you talked to the one hundred most knowledgeable grapplers in the world and asked them, “Who would you most like to learn grappling from?” ninety-eight, ninety-nine, or maybe even all one hundred of them would give you the same answer: John Danaher. There is just no equal.
- “Leglocks – Enter The System” from John Danaher: The Most Sought After Grappling Instructor On The Planet
- John helped coach Georges St Pierre and Chris Weidman to UFC World Titles. Garry Tonon has become a 3x ADCC competitor and a grappling Icon
- Leglocks have been called the great equalizer - it doesn’t matter if you are big, strong, fast or flexible; all that you need to apply a successful leglock is the knowledge
- John has guided guys like Eddie Cummings and Gordon Ryan to stardom in a fraction of the time that it would take ordinary people
- This is a curriculum based approach to leg locks
- Enter the system today and change your entire game
Course Content
Volume 1
CHAPTER TITLE
START TIME
| Introduction | 0 - 1:54 |
| Breakdown | 1:54 - 9:05 |
| Explication | 9:05 - 10:56 |
| Independant Thinking | 10:56 - 12:15 |
| Overview | 12:15 - 15:20 |
| Manifestations of Leg Lock System | 15:20 - 18:41 |
| Grip and Inside Position | 18:41 - 22:38 |
| Gripping | 22:38 - 26:43 |
| 2 on 1 Gripping | 26:43 - 33:25 |
| Immovable Elbow | 33:25 - 39:00 |
| Push Pull Dynamic | 39:00 - 42:38 |
| Torso Controls | 42:38 - 46:22 |
| Hand Over Shoulders | 46:22 - 52:23 |
| 2 on 1 Leg | 52:23 - 56:49 |
| shin To Shin | 56:49 - 1:00:51 |
| Standing Opponent | 1:00:51 - 1:05:33 |
| scoop gripping | 1:05:33 - 1:11:16 |
| Ankle Gripping | 1:11:16 - 1:15:09 |
Volume 2
CHAPTER TITLE
START TIME
| Attaining Inside | 0 - 5:00 |
| Standing Opponent | 5:00 - 7:49 |
| De La Riva | 7:49 - 12:17 |
| Pummelling Legs Top Position | 12:17 - 18:40 |
| Movement Inside | 18:40 - 25:07 |
| Supine Opponent | 25:07 - 32:09 |
| Hand Post - Leg Pummeling | 32:09 - 39:53 |
| Irimi Ashi | 39:53 - 48:48 |
| Knee and Knee Line | 48:48 - 53:54 |
| Connection Drills | 53:54 - 58:05 |
| Penetration Drills | 58:05 - 1:04:13 |
| Gravity Drills | 1:04:13 - 1:09:08 |
| Gravity Drills 2 | 1:09:08 - 1:14:20 |
| Gravity Drills 3 Rolling | 1:14:20 - 1:17:43 |
| Recovering Knee Line | 1:17:43 - 1:22:41 |
Volume 3
CHAPTER TITLE
START TIME
| Introduction | 0 - 1:43 |
| Single Leg Ashi | 1:43 - 7:07 |
| double Leg Ashi | 7:07 - 10:19 |
| Inside Leg Breakdowns | 10:19 - 16:12 |
| Cross Ashi | 16:12 - 19:03 |
| Introduction | 19:03 - 22:14 |
| Lifting Method | 22:14 - 28:27 |
| Lifting Method Cross Ashi | 28:27 - 30:59 |
| centerline Method | 30:59 - 33:24 |
| Tilting Method | 33:24 - 35:39 |
| negating Resistance Intro | 35:39 - 44:16 |
| General Theory Intro | 44:16 - 45:45 |
| General Theory | 45:45 - 54:05 |
| Follow Through | 54:05 - 59:04 |
| Slack Removal | 59:04 - 1:04:30 |
| Gripping | 1:04:30 - 1:11:25 |
| Outside Heel Hook | 1:11:25 - 1:18:42 |
| Inside Heel Hook | 1:18:42 - 1:25:49 |
Volume 4
CHAPTER TITLE
START TIME
| Intro | 0 - 2:26 |
| Shared Spiral Problem | 2:26 - 7:12 |
| Single Ashi Solution | 7:12 - 11:43 |
| Multiple Ashi Solution | 11:43 - 16:14 |
| Exposing The Heel | 16:14 - 19:37 |
| Negating Resistance | 19:37 - 26:52 |
| Breaking | 26:52 - 36:43 |
| Cycles of Inside Outside Dominance | 36:43 - 43:04 |
| Stopping The Spiral | 43:04 - 48:46 |
| CONTROL SPEED OF THE SPIRAL | 48:46 - 1:11:46 |
Volume 5
CHAPTER TITLE
START TIME
| introduction | 0 - 14:11 |
| similarities & differences of straight nd cross ashi | 14:11 - 18:04 |
| primary & secondary leg | 18:04 - 19:38 |
| double & single Leg approaches | 19:38 - 21:55 |
| turnout problem | 21:55 - 26:28 |
| double leg approach - ankle lace ashi | 26:28 - 30:18 |
| release problem | 30:18 - 32:09 |
| managing the release | 32:09 - 36:46 |
| alternative achilles grip | 36:46 - 41:38 |
| double heel hook attack | 41:38 - 45:06 |
| lace leg (creating dilemma) | 45:06 - 47:59 |
| splitter hand | 47:59 - 53:50 |
| elbow slicer | 53:50 - 57:17 |
| over under method | 57:17 - 1:02:01 |
| double elbow | 1:02:01 - 1:04:21 |
| double cross method | 1:04:21 - 1:07:46 |
| controlling shared spiral | 1:07:46 - 1:15:47 |
Volume 6
CHAPTER TITLE
START TIME
| intro | 0 - 2:21 |
| Central Problems | 2:21 - 4:59 |
| Untying Legs | 4:49 - 10:18 |
| Double Leg Roll | 10:18 - 15:47 |
| Figure Four Toe Hold | 15:47 - 19:26 |
| Dilemma Attack | 19:26 - 26:37 |
| Figure Four toe Hold Primary Leg | 26:37 - 35:06 |
| Figure Four toe Hold Non Optimal Conditions | 35:06 - 42:25 |
| Transition to Outside Ashi Outside Heel Hook | 42:25 - 48:17 |
| Transition to Cross Ashi Inside Heel Hook | 48:17 - 53:22 |
| Intro | 53:22 - 55:00 |
| Head Position | 55:00 - 1:01:10 |
| Opponent Spins Leg Crossover | 1:01:10 - 1:05:46 |
| Static Crossover | 1:05:46 - 1:09:48 |
| Spin Leg To Cross Ashi | 1:09:48 - 1:13:34 |
| Spin Leg To Reverse Ashi | 1:13:34 - 1:16:56 |
| Rolling Transition From straight to Cross Ashi | 1:16:56 - 1:22:27 |
Volume 7
CHAPTER TITLE
START TIME
| Sliding Ashi | 0 - 4:58 |
| Colloring Elbow | 4:58 - 8:31 |
| Double Leg Entry | 8:31 - 11:46 |
| Single Leg Entry | 11:46 - 16:07 |
| Front Headlock | 16:07 - 18:25 |
| Arm Drag | 18:25 - 21:32 |
| 4 Point Breakdown | 21:32 - 24:02 |
| Intro Ground position | 24:02 - 28:35 |
| Bottom Single Elevator | 28:35 - 32:57 |
| Crossed Feet Single Elevator | 32:57 - 36:47 |
| Inversion | 36:47 - 41:22 |
| Knee Shield Inversion | 41:22 - 45:39 |
| Knee Shield to X Guard | 45:39 - 49:43 |
| Hook Sweep to Reverse X Guard | 49:43 - 54:32 |
| Arm Drag | 54:32 - 58:07 |
| Collar and Heel Entry | 58:07 - 1:02:17 |
| Shoelace Breakdown | 1:02:17 - 1:07:41 |
Volume 8
CHAPTER TITLE
START TIME
| Sitback | 0 - 6:56 |
| Inside Out Entry | 6:56 - 9:50 |
| Outside In Entry | 9:50 - 13:04 |
| Outside Step In | 13:04 - 17:23 |
| Half Guard Entries | 17:23 - 26:58 |
| Kani Basami | 26:58 - 30:24 |
| Double Seated Position | 30:24 - 45:24 |
“Leglocks – Enter The System” from John Danaher: The Most
Sought After Grappling Instructor On The Planet.
This is the Program He Uses To Turn Ordinary Men Into Super Men.
If you talked to the one hundred most knowledgeable grapplers in the world and asked them, “Who would you most like to learn grappling from?” ninety-eight, ninety-nine, or maybe even all one hundred of them would give you the same answer: John Danaher. There is just no equal.
As an instructor John is exceptional – some would even say unparalleled.
- Of the 12 EBI Tournaments they’ve entered John’s guys have won 11 and made it to the final of the 12th.
- 7 competitors from the squad went to the ADCC – the Olympics of Grappling - which has to be a record.
- Gordon Ryan- a rookie competitor with only 6 years of experience - won the 88 kg weight class (first American ever to win at 88 kg) and took silver in the Open Class.
- Gordon’s younger brother Nicky became the youngest competitor ever to appear at ADCC at 16 years old – he’s just 3 years in and is already defeating some of the best competitors in the sport.
But it is not just the Ryan brothers who have excelled:
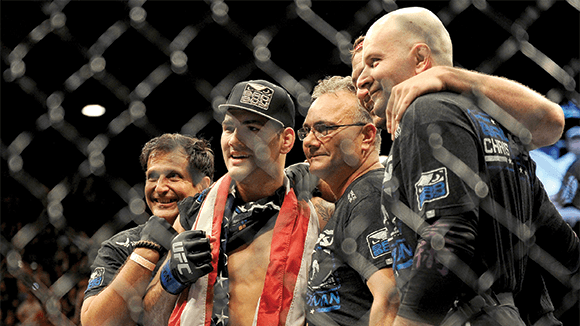
John helped coach Georges St Pierre and Chris Weidman to UFC World Titles. Garry Tonon has become a 3x ADCC competitor and a grappling Icon.
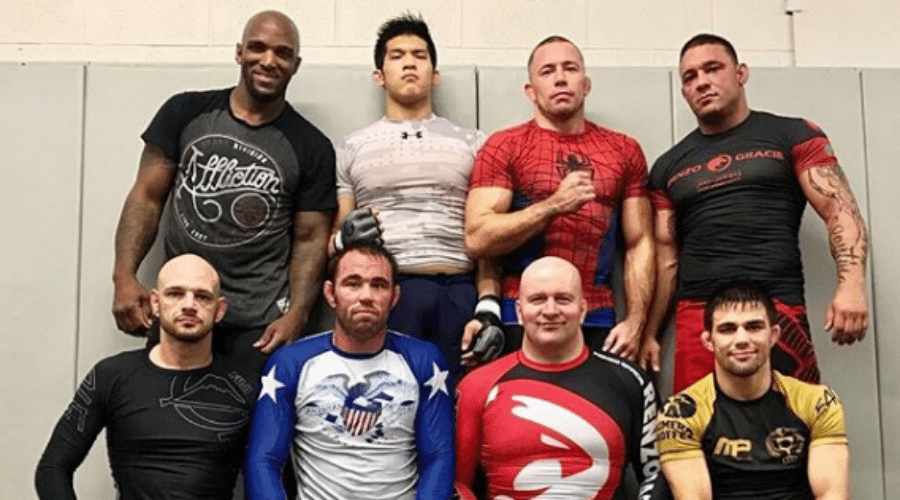
The list of stars who just show up to take classes with him is perhaps more than any other instructor on the planet could hope to attain. It’s like a Who’s Who of the top fighters on the planet:
· Roger Gracie
· Romulo Barral
· Craig Jones
· AJ Agazarm
· And too many MMA stars to even name
Everyone who joins John’s squad seems to start winning and winning and winning.
But John Also Helps “Normal People” Too
“One thing that constantly surprises me.. is that you have many busy career oriented people who find time to train in Jiu Jitsu and do incredibly well… I often have situations where professional mixed martial arts or even professional jiu jitsu athletes train with my part time career people and yet the part time career people give the professionals a very difficult time and in some cases even overcome them..” - John Danaher

The Reason For All Of John’s Success
John has a systematic approach to grappling like no other… and that ties back to John’s background. John was a talented graduate student when he came to Columbia University to study philosophy in a PhD Program in the early 1990s and also an avid 230 lb weight lifter. When another (much smaller) student in his academic program told him about his newly found curiosity, Brazilian Jiu Jitsu, John thought it sounded off the wall. They guy started to explain to John that it was a more effective way to fight and even though the smaller man was only a veteran of 2 weeks of classes, he felt it was enough to keep him safe against a much bigger man… like John.
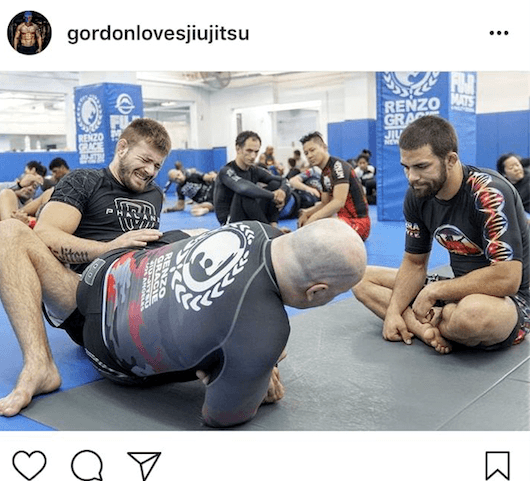
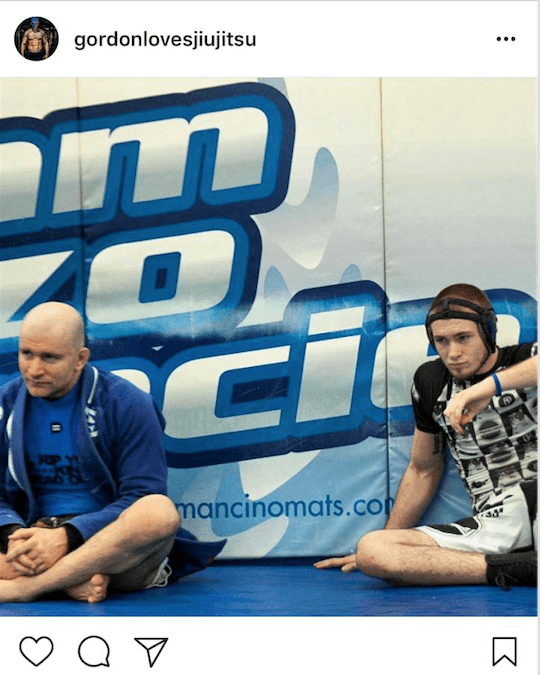
Since the beginning of time one man saying to another some version of, “I think I could take you” has undoubtedly resulted in hundreds of millions (or perhaps even billions) of informal fisticuffs, or more friendly wrestling matches like the one that soon ensued. John got the much smaller and weaker man into a headlock and found that he could do nothing. The man hadn’t gained enough knowledge to escape but he did gain enough to keep himself safe before John gassed out a couple of minutes later and let go. John was marveled. He had to see this for himself. He became a student at the Renzo Gracie Academy in New York City and four years later he became an instructor. John grew quite addicted. Renzo used to joke that no one was at the Academy more than John and if he kept it open on Christmas, John would undoubtedly show up. John Danaher never completed his PhD at Columbia, but he would go on to become perhaps the most famous Jiu Jitsu instructor on the planet.
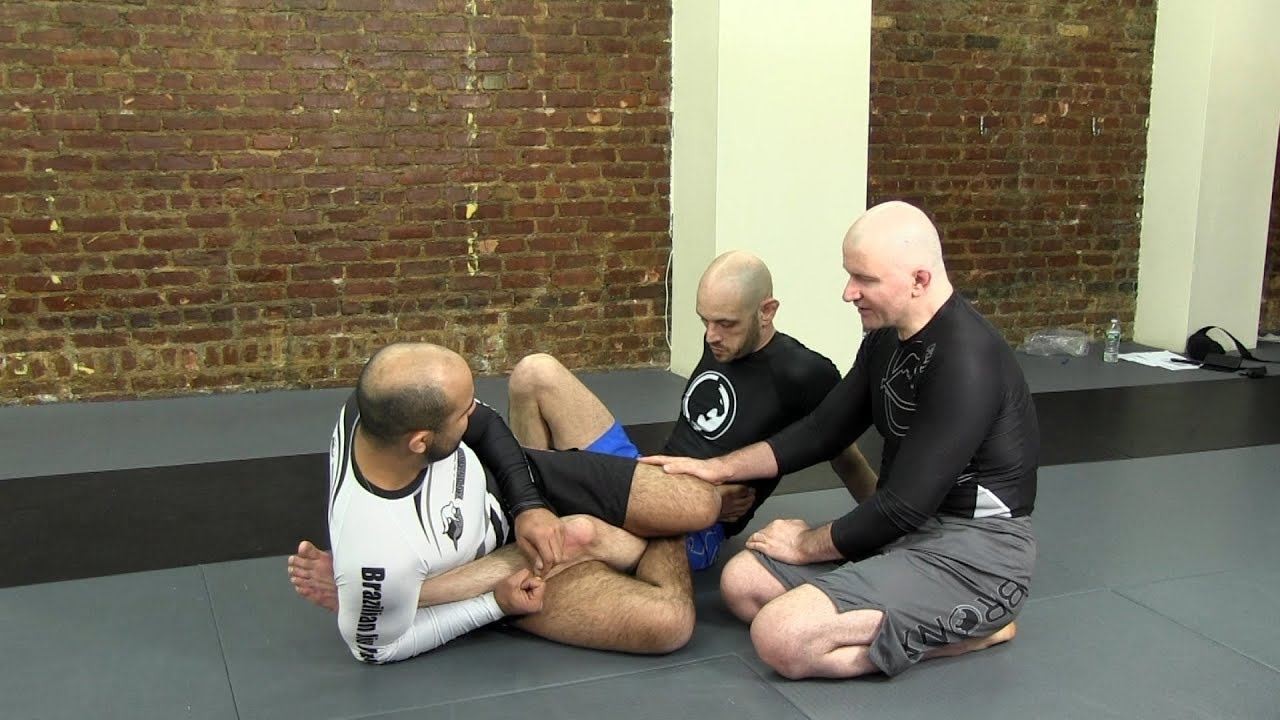
John takes a very cerebral approach to Brazilian Jiu Jitsu. He is able to articulate the art in a way that perhaps no one else can. While John is incredible to listen to, he has a perhaps unmatched ability to make the complex seem simple, make the difficult become easy - and it is this skill that speeds the learning curve like no other teacher on the planet.
The one thing that John is perhaps best known for though? The leg lock.
What got Danaher into leg locks?
The realization that most Jiu Jitsu practitioners were ignoring 50% of the body.
John Danaher met Dean Lister for only 3 days and most of the insight happened in a quick conversation in 3 minutes when Dean asked John the following question: “Why would you ignore 50% of the human body?” John had no immediate answer. But over time, John used that as motivation to change grappling as we know it. From that chance encounter emerged a simple but cataclysmic idea:
Focus on what most people ignore.
During those days Dean Lister was known for his Achilles lock and he later went on to win 2 ADCC titles.
But it wasn’t a technique that John learned from him, it was the simple perspective that most Jiu Jitsu practitioners are missing something in plain sight – the legs.
The Leg Attack System
John’s system is based on 3 Principles.. 6 concepts
Chris Weidman on Danaher:
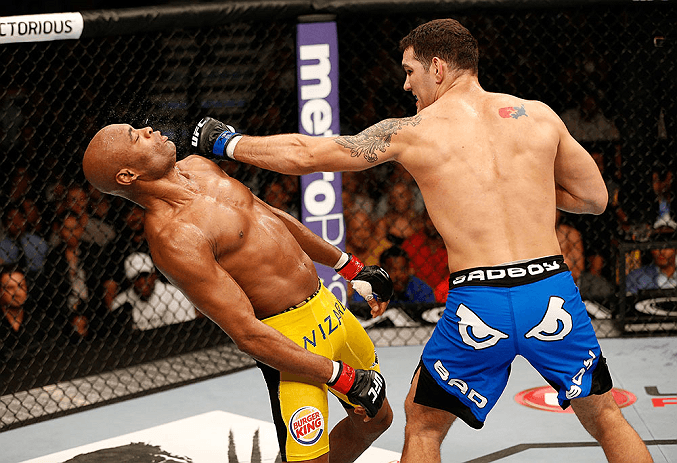
Frank Trigg interviews Chris Weidman on how John Danaher “helped set up his camp to specifically beat Anderson Silva.”
He called John Danaher “like a mad scientist”
Basically Danaher’s systematic organizational skills helped Chris.
Gordon Ryan on John Danaher:
“If you haven’t felt a John Danaher heel hook then you haven’t really lived.”
July 18th, 2017
“Just one of the people I owe everything to.”
January 2nd, 2015
Before ADCC 2017 many doubted if Danaher’s star pupil, Gordon Ryan, had the experience and skill set to walk away a champion in the tournament's most crowded division, which included Xande Ribeiro and Romulo Barral. While the list of former champions and savage grapplers was extensive, Ryan proved to be ready for the challenge and was the last man standing in the division.
When asked immediately off the mats what the secret was to his success, Ryan blurted out without hesitation, "John Danaher."

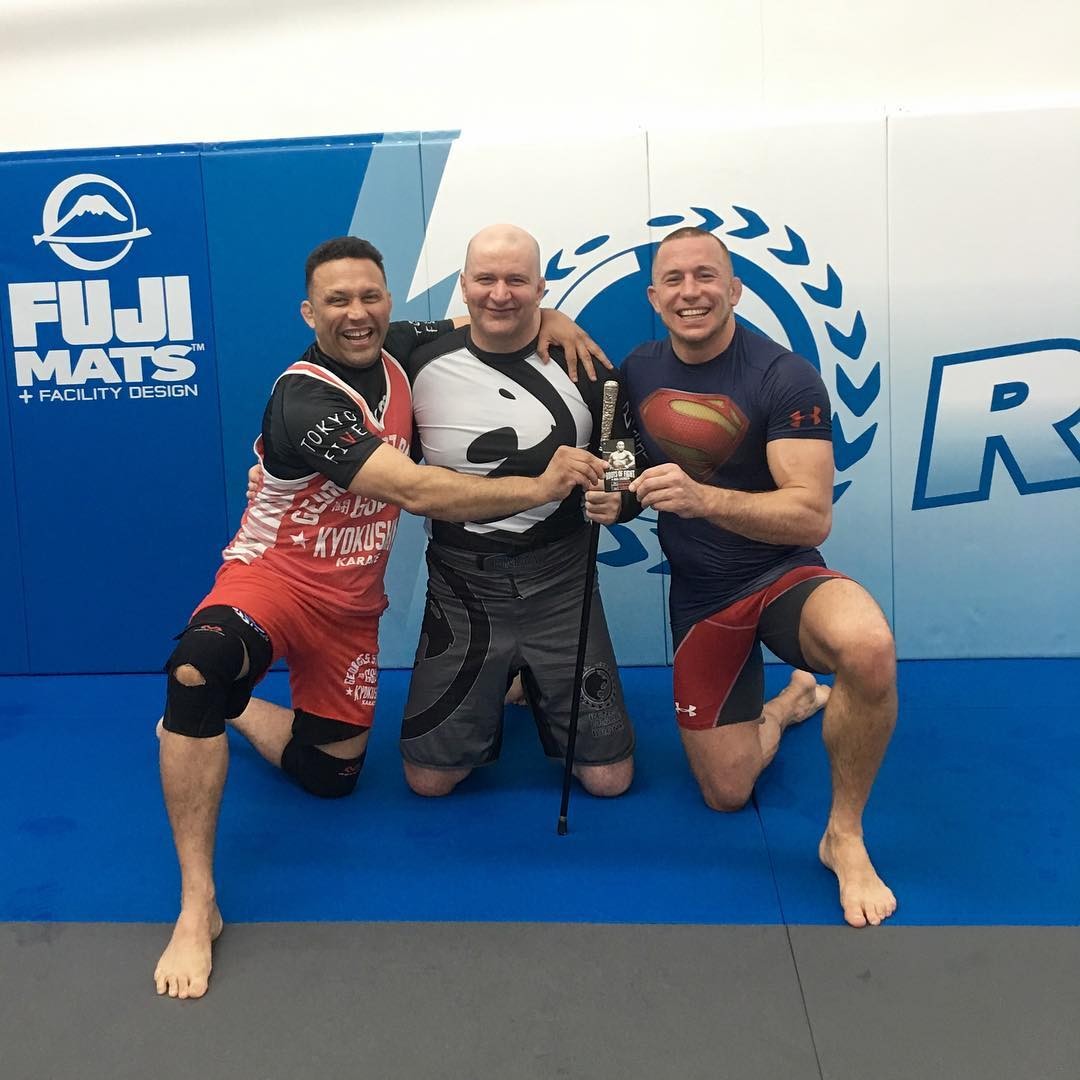
Renzo Gracie On John Danaher
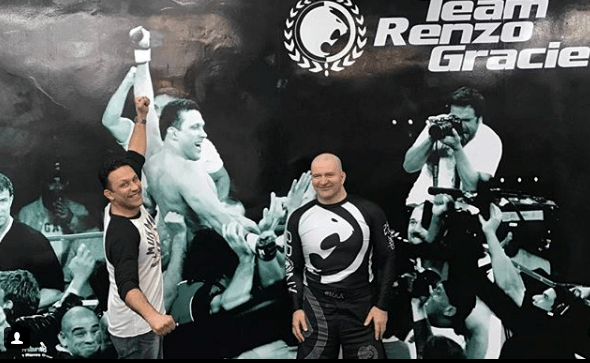
“Me and John Danaher one of my best creations... He began Jiujitsu at 27 years old, and with his great determination and love for the art has prove me right as a instructor, since there's no better reward to a teacher than the excellence achieved by his students...”
– Renzo Gracie February 17. 2017
“He [Danaher] does jiu-jitsu every day; we can’t get him out of here. I think he would come in on Christmas if we would let him.”
Matt Serra on John Danaher
Matt put Danaher on the map by saying “This is the genius that helps me.”
Ray Longo on John Danaher
“He’s a true student of the game,” Longo says.
Garry Tonon on Danaher:
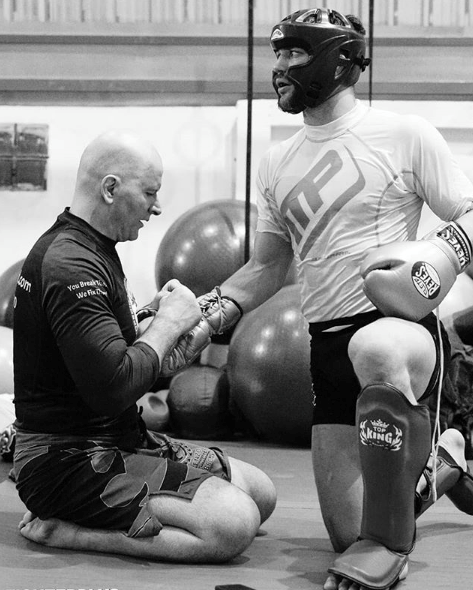
“So thankful that I've had the legend himself John Danaher with me every step of the way in my journey to the great unknown world of MMA. We started my very first shoot boxing training, drilling, and sparring, just over 3 months ago. Our biggest task was preparing me for something I basically had no knowledge, skills, or expertise in, fighting with strikes in the standing position. Along with that complete deficit in skill, I needed work in grapple box, fence wrestling, and clinch fighting. We needed to make up a lot of ground in a very short period of time, but at the same time not take to much damage while doing so. From running sparring, drilling, studying tape, strategy, tactics, to finally following me out to Thailand to corner me against my first ever opponent in MMA, John coordinated it all. I realize how difficult of a task that is, and how big of a commitment he made to helping me prepare. He helped me go from frantically fighting for my life in early sparring, to being genuinely confident going into my first fight. I'm loyal to this guy forever. Thanks for everything brother.”
March 20th, 2018
So How Much?
Well, what is it worth to learn from what many would considerthe greatest instructor in history – a teacher to champions and someone that isrevered by the best fighters on the planet- the secrets that will allow you togrow your game by leaps and bounds?
This is one of the most groundbreakingprograms on the market. John Danaher, someone talked about in mythical tones, isgoing to draw back the curtain and let you in on the secrets he’s perfectedthrough the years.
We’d ask how much do youthink it would cost to get a personal instructional from John but we won’tbother – it ain’t gonna happen.
So again, how much wouldyou expect to pay for this kind of learning experience? We’re talking about over 9 hours worth ofmaterial!!
We could easily havecharged $997 and it would have been a bargain. Butwe’re not going to do that.
Instead, cut that priceby more than 80%! That’s right…
You can get JohnDanaher’s "Enter The System: Leg Locks”- in which he reveals all his secrets – forjust… $217
There’sno reason not to take action - this DVD Series will change your life - Guaranteed. If you don't like it for any reason - just send it back for a full refund- no questions asked.


Here's What Students Are Viewing
-
 Pin Escapes & Turtle Escapes: BJJ Fundamentals - Go Further Faster by John DanaherRegular price $197
 -
Systematically Attacking From Open Guard Seated Position by Gordon RyanRegular price $349
-
They Shall Not Pass by Gordon RyanRegular price $349
-
The Half Guard Anthology by Lachlan GilesRegular price $79
-
Butterfly Guard Rediscovered 3.0 by Adam WardzinskiRegular price $149
-
Foundations of Brazilian Jiu Jitsu by Bernardo FariaRegular price $99
-
Weight Training For Grappling by Michael Israetel
$29.99Regular price Sale Price $15 -
The B Team Bottom Game: Imparting Wrestling, Turtling, and Heisting For Superior Results by Craig JonesRegular price $197
-
Understanding The Distance On Top by Gui MendesRegular price $198
-
Tripod Passing: Beating Inside Position by Jozef Chen
$127Regular price Sale Price $63.50 -
The guard Retention Anthology: Around and Under by Lachlan Giles & Ariel TabakRegular price $127
-
Under Pressure: Half Butterfly Mastery by Brian GlickRegular price $197


